Set Up Revit API Project File
Open Visual Studio
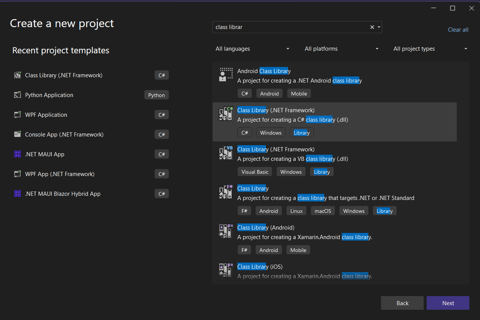
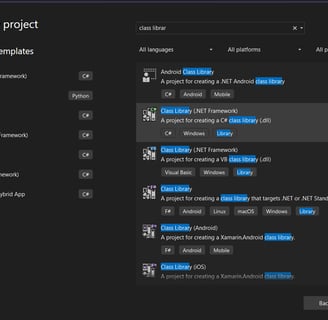
Click on Create a new project
Search the term ''Class Library c# (.NET Framework)''
Creating the new Class Library File
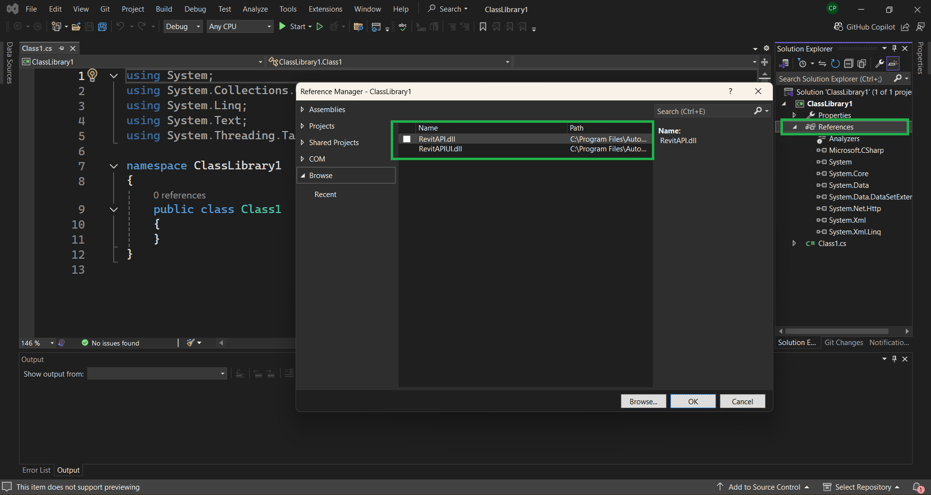
Add the requied Revit API dlls
Right click on References and add the references (.dll files) from the location
C:\Program Files\Autodesk\Revit Version\RevitAPI.dll
C:\Program Files\Autodesk\Revit Version\RevitAPIUI.dll

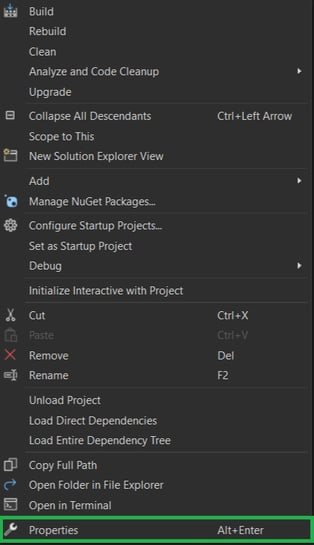
Solution setting
Right click on solution and add click on the Properties
In the properties window click on Debug menu
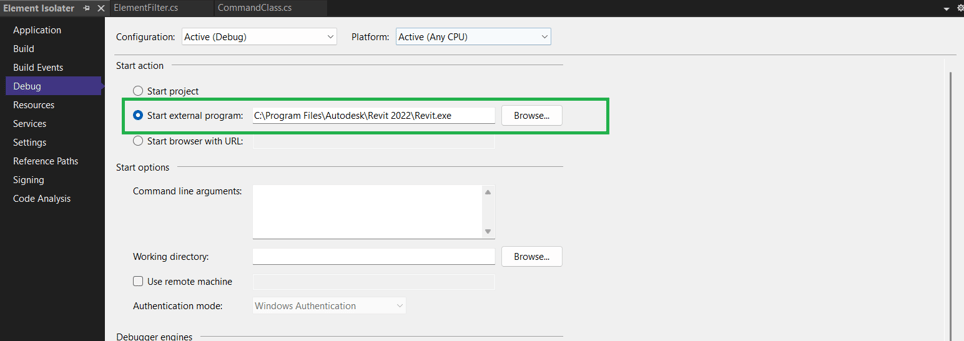
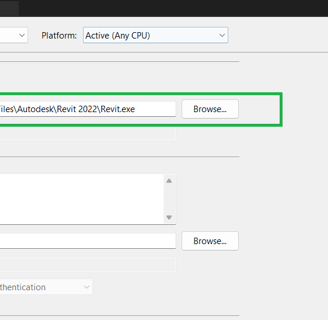
Click on the Start external program and mention the corresponding location of Revit.exe file
example: C:\Program Files\Autodesk\Revit 2022\Revit.exe
Set the Revit execution file location for debugging
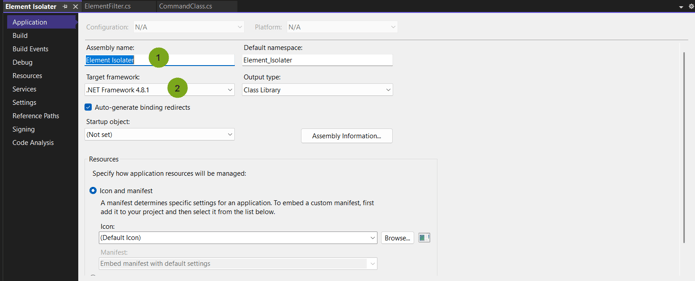
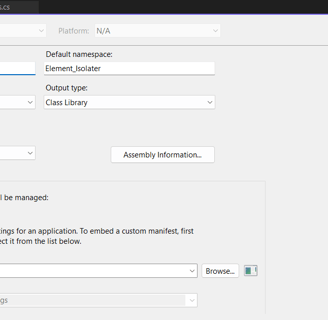
Set the Application setting
Click on the Application
Set the Assembly name as per the requirement, the name of the dll will be as per Assembly name.
Set the Target framework to version 4.8.1.
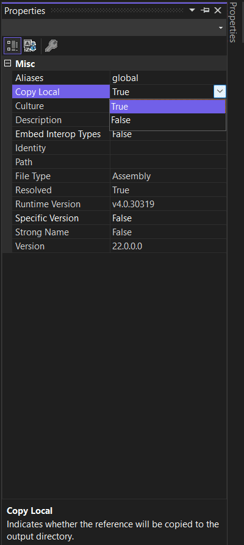
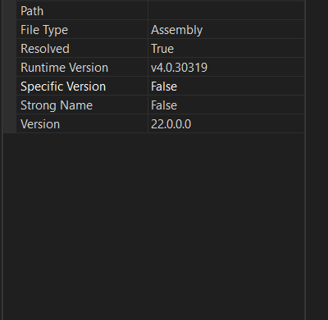
Dll file setting
Right click on the added dll files from References.
Select Copy Local option to False.